Home » metrology
Articles Tagged with ''metrology''
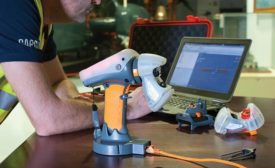
Advancements in motors and sensors improve CMM surface measurement capabilities.
Read More
INDUSTRY HEADLINE
GM Recognizes Zeiss Industrial Metrology for Performance, Quality, and Innovation
May 8, 2018
Measurement Dispute Resolution
And some advice to avoid such disputes in the first place.
May 7, 2018
Quality Software and the Future
There is a war going on and it is presently being fought in the cloud.
April 30, 2018
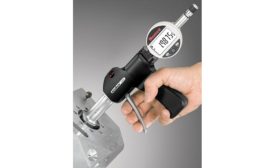
Getting the Best Out of Bore Gages
Data collection capability, careful selection and use are key.
April 30, 2018
INDUSTRY HEADLINE
MSE Manufacturing Event Continues to Bolster Offerings and Lineup
April 16, 2018
INDUSTRY HEADLINE
IMTS 2018 to Showcase Newest Metrology, Inspection and Automation Technologies
April 10, 2018
Stay in the know with Quality’s comprehensive coverage of
the manufacturing and metrology industries.
eNewsletter | Website | eMagazine
JOIN TODAY!Copyright ©2024. All Rights Reserved BNP Media.
Design, CMS, Hosting & Web Development :: ePublishing


