Measurement
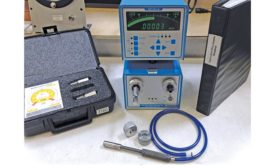
Clashing Calibration Cultures
The Resulting Discussions Cost Labs Time and Money
September 1, 2017
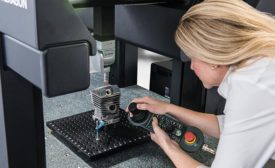
Blue Light Optical Scanning for High Resolution 3D Measurement
When an entire shape needs to be scanned, optical measurement is more effective.
September 1, 2017
Air Gaging in a Quality Management System
The most important consideration is the assurance of accuracy through calibration.
September 1, 2017
Controlling the Accuracy of a Shop Floor CMM
Understanding the influence of temperature on your CMM.
September 1, 2017
INDUSTRY HEADLINES
Proto Labs Adopts Laser Design CyberGage 360 Automated 3D Scanning and Inspection System For Its Metrology Lab
August 25, 2017
INDUSTRY HEADLINES
Perceptron Awarded Large Helix 3D Scanning Sensor Order in China
August 23, 2017
INDUSTRY HEADLINE
MicroConnex Deploys High-Resolution Fischerscope X-Ray Fluorescence Metrology Station
August 4, 2017
INDUSTRY HEADLINE
Coordinate Metrology Society Conference Attracts Top Talent in Portable Measurement
August 3, 2017
Stay in the know with Quality’s comprehensive coverage of
the manufacturing and metrology industries.
eNewsletter | Website | eMagazine
JOIN TODAY!Copyright ©2024. All Rights Reserved BNP Media.
Design, CMS, Hosting & Web Development :: ePublishing


