Measurement
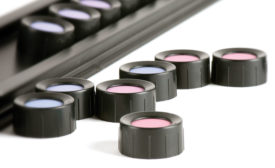
8 Reasons Controlling Color Quality is Hard
Do you ever get frustrated with the trial and error, rework and wasted materials that result when color doesn’t meet expectations?
November 1, 2016
INDUSTRY HEADLINE
Creaform to Move its Headquarters to an Expanded Location in Lévis
October 20, 2016
NDT HEADLINE
Creaform and Sonatest Announce a New Global Distribution Partnership
October 20, 2016
V&S HEADLINE
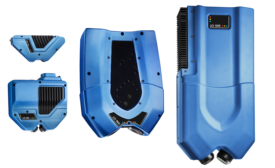
FocalSpec Presents High-Resolution 3D Line Confocal Imaging Sensors for Surface Metrology Applications
October 13, 2016
INDUSTRY HEADLINE
Zeiss Announces MSI-Viking Gage as New Distributor for the Southeast
October 3, 2016
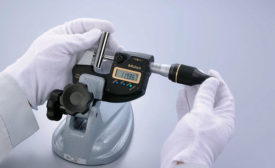
Measurement with Micrometers
With many different types of micrometers to choose from, how can you be sure to select the best one for the job?
October 1, 2016
Stay in the know with Quality’s comprehensive coverage of
the manufacturing and metrology industries.
eNewsletter | Website | eMagazine
JOIN TODAY!Copyright ©2024. All Rights Reserved BNP Media.
Design, CMS, Hosting & Web Development :: ePublishing


