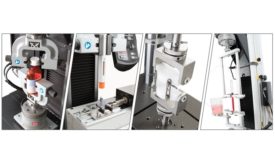
The event will present the company’s latest advancements in static, dynamic, and impact testing for the biomedical field, including live demonstrations on how to improve efficiency in the lab, ways to expand capabilities, and how to deliver more accurate and reliable test results. Seating is limited.
Luminator Technology Group is a family of brands that manufacture passenger information signs, lighting, and display solutions for bus, rail, and aerospace industries. Based in Plano, Texas, Luminator serves a broad customer base in North America and throughout the world.
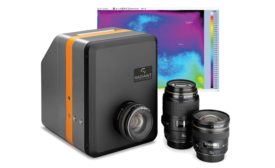
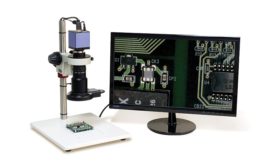
Choosing the right inspection system for your application can be a daunting task. For industrial applications three types of inspection systems are generally used. This guide describes these systems, their common applications along with pros and cons.
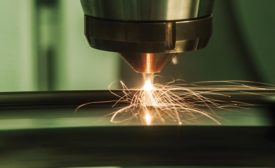
Traditional nondestructive inspections are performed much the same for additive parts, but there are some new limitations introduced by the AM methods.
Additive manufacturing (AM) is one of the hottest and most revolutionary processes to come along in many years. The thought of popping a design into a machine and having a functional part come out the other side was science fiction a generation ago. We are nowhere near the Star Trek replicators, but we are closing that gap.
Failure modes and effects analysis is an effective method.
July 8, 2018
At the individual level, failure isn’t always a welcome event but it is recognized as a path to growth, innovation, and change. Prior to engaging in a particular endeavor, you can look at potential areas of failure and examine possible consequences. If the activity doesn’t involve death, divorce, or disaster—and with a little internal and external encouragement—you will go for it.
A few customers are requesting that reports show the actual lab humidity during calibration of their equipment. I realize that this can be a critical consideration for some types of calibration but when it comes to fixed limit gages, I have never heard the rationale for such a request other than it’s what their customer expects.
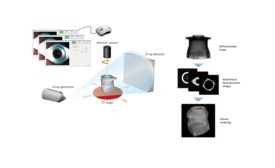
Breaking new ground in production to be one step ahead—such is the ambition of numerous companies. In light of the additive manufacturing trend, this may be possible. Dr. Marcin Bauza, Dr. Claus Hermannstädter, and Dr. Robert Zarnetta explain how to support pioneering entrepreneurs in their efforts.
Industrial inspection equipment doesn’t appear in mainstream news on a regular basis. But that’s what happened when Samsung found itself in the unenviable position of determining why its Note 7 smart phones had turned pyrotechnic.
In a previous article, we observed how multi-sensor CMMs can perform 2D and 3D measurements interchangeably in a single run. Today, high-precision CMMs also can carry out form measurement functions, says David Wick, product manager at ZEISS Industrial Metrology.