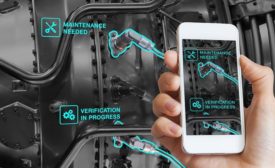
With the introduction of augmented reality into assembly and inspection processes, cutting-edge industry 4.0 research is uncovering best practices to maximize quality.
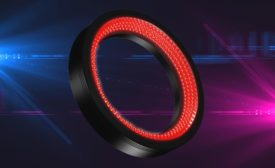
Part 1 of this three-part series examined how to identify characteristics of the object and the background you can use to create contrast with the illumination source for your machine vision application. This second part looks at how you go about choosing a light source to take advantage of the characteristics that create contrast.
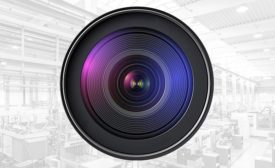
Imaging lenses enable machine vision systems to inspect, sort, and measure objects for a variety of applications including manufacturing, robotics, autonomous (self-driving) vehicles, and more.
The use of machine vision in industrial automation applications continues to increase as companies look for gains in productivity, efficiency and safety. Market forecasters estimate that the total market for machine vision will reach more than $18 billion by 2025, up from about $10 billion today.
The single most important thing manufacturing leaders can do to engage their employees is to share the ‘why’ behind their daily work, says Kathleen Skarvan, CEO at New Prague, MN-based Electromed—Quality’s 2021 Plant of the Year.
Digitalization has changed our world as the internet and modern technology continue to shape the manufacturing industry. For example, the vision of Industry 4.0 shows that production systems and machines are required to be flexible and adapt with continuously changing manufactured products. That means production will be more individualized, flexible, and faster.
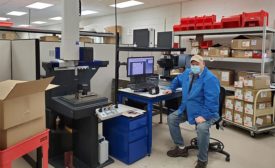
The role of metrology is shifting. This is especially true in modern industrial settings and for increasingly exacting applications. Once perceived as a necessary evil residing in the quality control department validating the integrity of finished parts and components, today metrology is viewed more as an enabling technology that truly adds value.
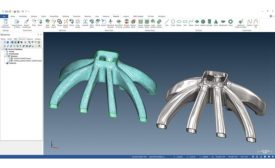
Before we can talk about reverse engineering as an application, it is important to understand how and why it has emerged as a critical metrology tool for manufacturers, and how it fits in the rapidly evolving digital workflow. Just a few years ago, the term ‘reverse engineering’ was associated more with industrial espionage, stealing designs, or product features from competitors. What has changed?
Effective communication only happens when the intended message is expressed successfully by one person and received and understood by another. If executed correctly, it cuts down the unintended consequences that arise as a result of miscommunication.
With the advancements of many manufacturing processes, computed tomography (CT) and digital radiography (DR) are continuing to expand into new sectors of nearly all industries. Historically, these nondestructive testing (NDT) methods were primarily used for inspection of critical components, however, we are seeing an increasing number of companies extensively applying these technologies beyond just inspection work.