It’s easy to take many of today’s technological marvels for granted, 3D measurement among them. The idea of simply pointing a “ray gun” of sorts at an object and obtaining all of its geometrical measurements would once have been solely the domain of Star Trek-ian science fiction.
Walking the floor of the International Manufacturing Technology Show in Chicago—between the 100,000-plus attendees and the thousands of booths—it was impossible not to notice the ongoing trend towards speed and automation in every aspect of manufacturing. It’s no different in metrology, as more manufacturers look to automate their inspection processes.
For more than 50 years, coordinate measuring machines (CMMs) have been improving measurement productivity and quality. The power of CMMs has made many complex inspection tasks seem almost trivial. With this much measurement capability, is it possible operators are taking their CMMs for granted?
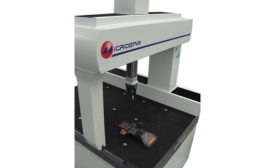
We love granite. It's the primary building material for our machines for the main reason that it provides the most metrologically stable base to build our high accuracy CMMs from.
In conventional 3D scanning measurement methods the CMM performs all the movements necessary to acquire the surface data. Acceleration forces induce inertia deflections into the CMM 3d scanning frame structure, which in turn induce measurement errors.
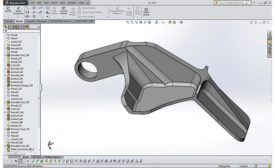
R&R Fixtures introduces FixtureBuilder 2016, a 3D CAD Software for documenting our modular CMM and vision fixture setups & doing offline part programming.
Among several CMM systems Helmel Engineering will be demonstrating is their Microstar with Renishaw’s 5-axis PH20 Touch Trigger Probe and UCCT5 Controller running CMM Manager Software.
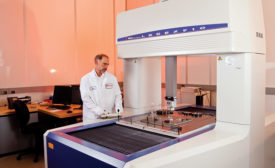
The Quality department of Continental’s Chassis & Safety department recently invested in dual multi-sensor CMMs to revamp the inspection capabilities of their measurement laboratory.
A CMM can tell that a part is out of spec, but that’s just a symptom and rarely provides enough information to identify and correct a problem. The standard first question is “Is there a trend; will this be an ongoing problem?” An ideal reporting system can help answer this question. Use this 7-point checklist for guidance.
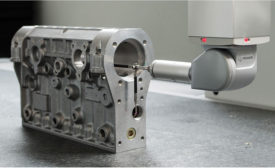
Hexagon Manufacturing Intelligence announced today it has released its new HP-S-X1 series of compact probes for 3D coordinate measuring machine (CMM) tactile scanning.