Home » CMM
Articles Tagged with ''CMM''
CASE STUDY
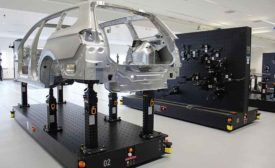
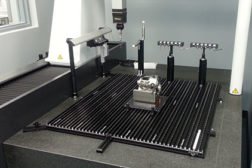
Fixturing provides a solution for a VW automotive application.
Read More
Advertisement
7 Metrology Methods Compared on 1 Identical Part
Your Guide to Quality and Inspection Methods and Machines
July 13, 2015
Advances in Model-Based Measurement Can Reduce CMM Programming Time
While manufacturers have applied model-based definition to product definition for some time, they have only recently applied it as a quality assurance process.
March 2, 2015
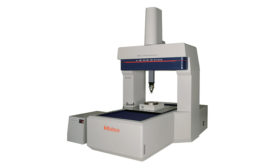
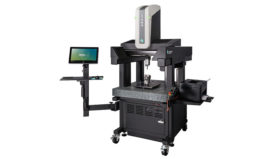
Mitutoyo Delivers Greater Productivity and Accuracy
Automotive supplier Dynamic Manufacturing benefits from CNC CMM.
March 2, 2015
INDUSTRY HEADLINE
Hexagon Metrology Recognized by Leading University for Contribution
February 10, 2015
Stay in the know with Quality’s comprehensive coverage of
the manufacturing and metrology industries.
eNewsletter | Website | eMagazine
JOIN TODAY!Copyright ©2024. All Rights Reserved BNP Media.
Design, CMS, Hosting & Web Development :: ePublishing
