Home » radiography
Articles Tagged with ''radiography''
NDT | NDT Trends
If the supply of qualified personnel is inadequate to meet the needs of industry there will be greater efforts to automate and utilize artificial intelligence to perform and evaluate NDT.
Read More
Column | Marty Wenzig
Unraveling the Titanium-Tungsten Puzzle with NDT
The Achievements of Radiographic NDT
December 8, 2023
NDT | Radiography
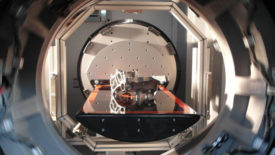
2D Radiography (x-ray) for NDT
2D radiography continues to be essential to the safety and reliability of many of the world's industrial products.
October 11, 2022
NDT Trends
Nondestructive Testing (NDT) Trends
Manual means of performing NDT and human evaluation of the results is trending more and more to automated, digitized and artificial intelligence interpretation of the results whenever economically possible.
October 10, 2022
NDT | Computed Tomography
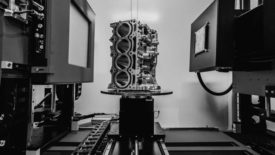
How Nondestructive Testing is Driving Sustainable Quality in the Automotive Sector
NDT techniques are available that are just as quick as destructive methods but also offer a more sustainable use of raw materials.
February 8, 2022
NDT | Computed Tomography
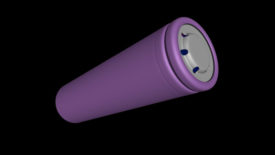
Computed Tomography's Solution to Battery Safety Concerns
A battery is a great example of the value of CT compared to simple radiography.
February 8, 2022
NDT | Radiography
Neutron Radiography and Turbine Blades
Neutron Radiography Works on the Same Basic Principles as X-Ray Imaging Except With Neutron Radiation Instead of X-Radiation.
June 8, 2021
NDT | Back 2 Basics
The Basics of Digital X-Ray Inspection
Conventional Radiography Will Continue to Have a Pace in NDT, but Digital Radiography is the Future
June 7, 2021
Stay in the know with Quality’s comprehensive coverage of
the manufacturing and metrology industries.
eNewsletter | Website | eMagazine
JOIN TODAY!Copyright ©2024. All Rights Reserved BNP Media.
Design, CMS, Hosting & Web Development :: ePublishing

