Home » surface measurement
Articles Tagged with ''surface measurement''
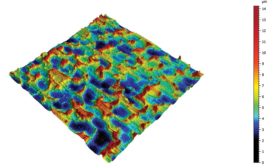
With the advent of new processes and materials, surfaces have an increasingly technical function.
Read More
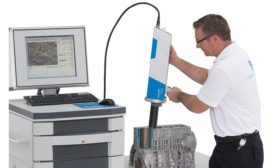
Using CMMs for Surface Finish Measurement
Advancements in motors and sensors improve CMM surface measurement capabilities.
June 15, 2018
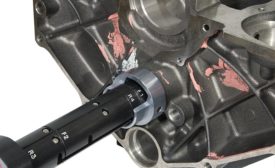
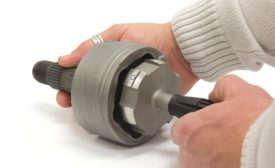
Custom Surface Finish Gages for Hard to Reach Places
When standard devices can’t provide expected results, a better solution is to custom design a gage to suit the specific application.
February 1, 2018
The 10 Commandments for Selecting and Using Air Gaging
When followed properly, these will provide a highly successful inspection system.
August 1, 2017
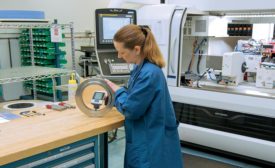
Putting Surface Inspection in the Hands of the Machine Tool Operator
Manufacturers need tools for operators that meet test requirements and are simple to use.
January 3, 2017
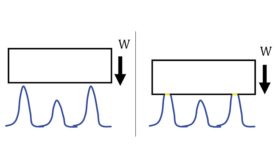
If you need less sliding friction, should you make the surface rougher or smoother?
Think quick!
January 3, 2017
Stay in the know with Quality’s comprehensive coverage of
the manufacturing and metrology industries.
eNewsletter | Website | eMagazine
JOIN TODAY!Copyright ©2024. All Rights Reserved BNP Media.
Design, CMS, Hosting & Web Development :: ePublishing
