Home » vision technology
Articles Tagged with ''vision technology''
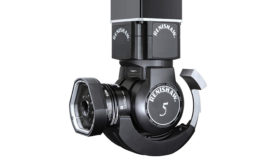
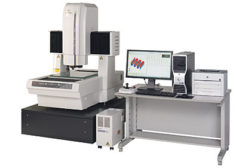
The Versatility of Vision Metrology
In the manufacturing world, speed and accuracy are high priorities. Vision technology provides both.
September 1, 2016
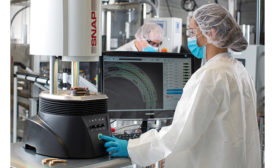
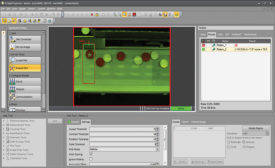
Vision Systems Continue to Provide Value
CURRENT VISION SYSTEMS HAVE COME A LONG WAY FROM PREDECESSORS.
July 8, 2015
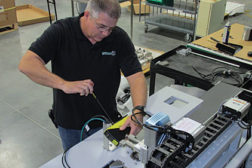
Independent Quality Assessment: A Call to Arms for Quality Management
WHY WOULD THOSE RESPONSIBLE FOR THE DESIGN, FABRICATION AND ASSEMBLY PROCESS ALSO BE RESPONSIBLE FOR THE ASSOCIATED PRODUCT QUALITY INSPECTION?
March 3, 2015
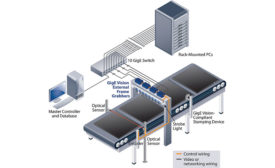
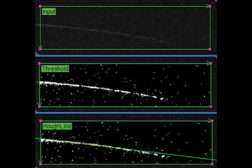
The Hough Transform in Machine Vision
Use good lighting and image preprocessing to get a strong signal before applying the Hough Transform.
November 3, 2014
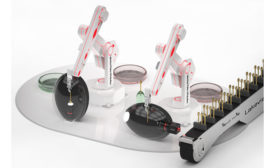
Vision Measuring Systems Advance Noncontact Dimensional Measuring Technology
Today’s vision measurement systems and microscopes use various technologies for noncontact measurement. This article discusses five principal technologies that may be used to “find the edge.”
September 5, 2014
Stay in the know with Quality’s comprehensive coverage of
the manufacturing and metrology industries.
eNewsletter | Website | eMagazine
JOIN TODAY!Copyright ©2024. All Rights Reserved BNP Media.
Design, CMS, Hosting & Web Development :: ePublishing
