Home » optical measurement
Articles Tagged with ''optical measurement''
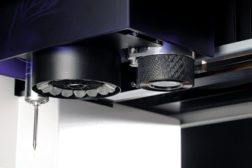
Optical Measurement: When & Why?
Optical measurement can solve certain challenges where other approaches cannot practically be applied.
April 1, 2015
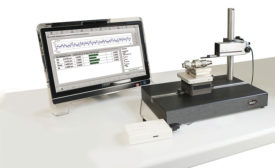
Sophisticated Metrology on a Budget
Buying the most economical system that meets your needs just makes sense, and finding that system need not be complicated.
December 2, 2014
Measurement
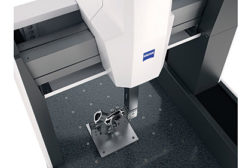
Trends in Multi-sensor Measurement
Tactile and optical measurement techniques each have their advantages. Multisensor systems combine the strengths of both.
April 1, 2014
Stay in the know with Quality’s comprehensive coverage of
the manufacturing and metrology industries.
eNewsletter | Website | eMagazine
JOIN TODAY!Copyright ©2024. All Rights Reserved BNP Media.
Design, CMS, Hosting & Web Development :: ePublishing
