Home » optical metrology
Articles Tagged with ''optical metrology''
NDT | Automation
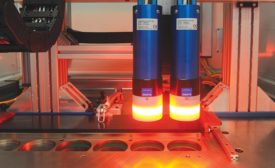
The aerospace industry is one example of where the marrying of automation and metrology is being adopted to elevate product quality and operational excellence.
Read More
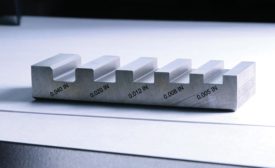
Edge Break Analysis for 3D Optical Metrology
Handheld 3D metrology that uses edge break analysis software can bring precise edge break measurements to the shop floor.
August 3, 2020
Sponsored Content
How to Reach Unrivaled Precision in Distance and Thickness Measurements with Confocal Sensors
April 8, 2019
Getting Inspection Right the First Time
How to decide whether to contract measurement services when 100% inspection is required.
March 29, 2018
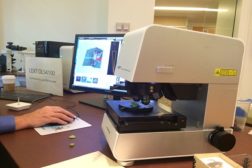
Optical Metrology Sees More
No other measuring method is capable of evaluating so many data points as quickly and as precisely as optical systems can.
May 1, 2017
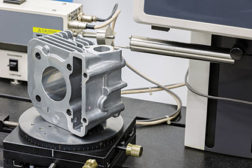
Opportunities and Challenges of Optical Metrology in Manufacturing
The latest technological advances open new opportunities with the right approach and the right equipment.
January 1, 2015
INDUSTRY HEADLINE
Olympus Hosts Tech Day at Smithsonian’s National Museum of Natural History
December 8, 2014
Stay in the know with Quality’s comprehensive coverage of
the manufacturing and metrology industries.
eNewsletter | Website | eMagazine
JOIN TODAY!Copyright ©2024. All Rights Reserved BNP Media.
Design, CMS, Hosting & Web Development :: ePublishing


