Measurement
Test & Inspection
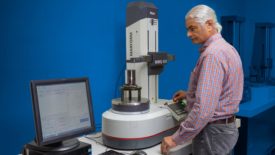
Why ensuring quality calibration of your precision measurement equipment is critical.
Read More
Measurement
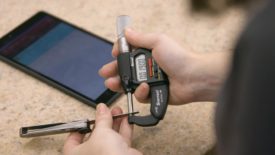
Gaging Evolves For Precision, Productivity, Ergonomics & More
Gage design is continually being enhanced and refined.
December 6, 2021
Quality Headline
Renishaw Announces Expanded CMM Software Offering with New Verisurf Agreement in North America
December 1, 2021
Quality Headline
NIST Requests Information to Help Guide Emerging Technologies
November 30, 2021
Column | Hill Cox
Other Dimensions: DIY Gage Calibration: A Primer for Management
One of the hardest parts of doing your own gage calibration is having the right personnel to do the work.
November 15, 2021
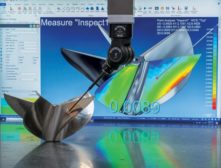
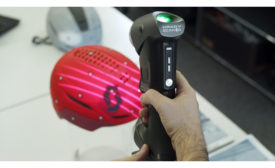
How 3D Scanning Solution Boost Quality Gains and Productivity
The key to being successful with automated measuring solutions is to simplify the deployment.
November 9, 2021
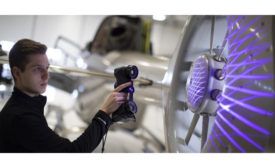
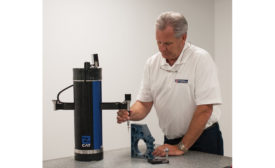
The Ins and Outs of Portable CMMs
Learn how a portable CMM works, and why it differs from other, similar tools.
November 8, 2021
Quality Headline
New Technology, Innovative Exhibits, Education, Networking Featured at 4th Biennial Quality Show
November 2, 2021
Stay in the know with Quality’s comprehensive coverage of
the manufacturing and metrology industries.
eNewsletter | Website | eMagazine
JOIN TODAY!Copyright ©2024. All Rights Reserved BNP Media.
Design, CMS, Hosting & Web Development :: ePublishing
