Measurement
Measurement
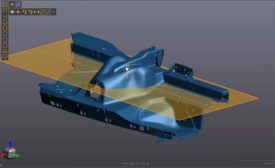
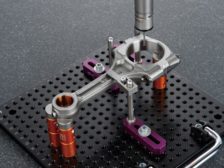
5-Axis CMM Measurement
CMMs of the Future will Provide Immediate Feedback to Help You be Proactive When it Comes to Planning Maintenance and Workload.
June 15, 2021
Other Dimensions | Hill Cox
Plain Ring Gage Calibration
Short Range Comparison Techniques are the Most Popular for Calibrating Plain Rings.
June 15, 2021
Why Yesterday’s Data Collection Systems Don’t Support Overall Equipment Effectiveness
Increasing the pace, capacity, and precision of measurement and inspection data collection is the first step in OEE.
June 11, 2021
How Process Control Saves Time and Money
Adding automation to manufacturing process control systems enables a holistic factory view.
June 10, 2021
Measurement
CMMs Go Collaborative
Is Your Coordinate Measuring Machine Future-Ready?
June 8, 2021
Quality 101
How to Choose the Best Shaft Measurement Tool for your Specific Application
There are Three Primary Options Available Today for Shaft Measurement: Optical, Tactile, and a Combination System
June 7, 2021
Quality Headline
Faro Expands Digital Twin Product Suite, Acquires HoloBuilder Inc.
June 7, 2021
Quality Headline
Dr. Ed Morse is New Director of UNC Charlotte’s Center for Precision Metrology
June 7, 2021
Speaking of Quality | Charles W. (Wes) Shelton
Measurement System Analysis More Than a Line on a PPAP Submission
June 1, 2021
Stay in the know with Quality’s comprehensive coverage of
the manufacturing and metrology industries.
eNewsletter | Website | eMagazine
JOIN TODAY!Copyright ©2024. All Rights Reserved BNP Media.
Design, CMS, Hosting & Web Development :: ePublishing


