In this article, I wanted to go beyond the simple go/no go measurements that most air gaging is used for. Air gaging is a highly effective and efficient way for measuring these simple diameter requirements. It is also extremely repeatable on tight tolerances, but for this article, I wanted to focus on using air gaging to measure form requirements such as roundness, flatness, perpendicularity/squareness, taper, straightness, matching, and others.
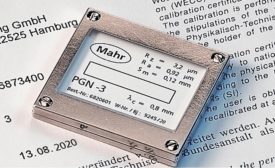
Our Introduction to Surface Roughness Measurement guidebook is an excellent initiation to noncontact surface roughness measurement. It offers practical information on various topics to help make roughness measurement easy and efficient.
After working at LMI for over 18 years, Terry Arden steps down as CEO role as of January 1, 2021. He will continue to serve as Chief Brand Officer in a part-time role, supporting the LMI Executive in product and business strategy development.
At first glance, you might think I’m losing it with the title of this month’s rant. After all, who would pay anything for ‘zero’ or nothing? It turns out a lot of people try to get ‘nothing’ or ‘zero’ and end up with more than they bargained for at a very high cost to get there.
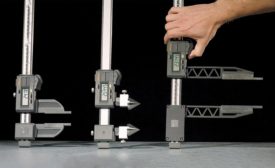
Calipers are an integral tool for many applications, yet they’re a tool that likely doesn’t garner much reflection. Whether you’ve been using them for years or are investing in them for the first time, here are the ins and outs of caliper design and use that you’ll want to keep in mind.
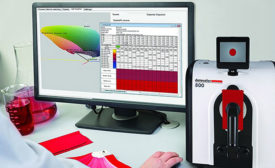
Color is just one of the many aspects of an effective quality control program that needs to be strategically managed to ensure accurate and consistent end products. However, color can be surprisingly challenging to get right.
Many use the phrase surface metrology interchangeably with roughness measurement, but it actually has a much wider meaning that includes measurement and quantification of periodicity; geometry; size; shape and number of discrete features and shapes; height or spacing based statistics; etc.