Measurement
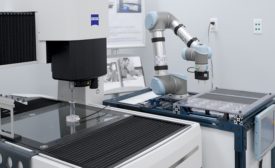
Optipro enhances their world-class optics manufacturing systems using new tools for robotic machine tending and small part measurement.
Read More
Benefits of Automating the Calibration Process
As with any measurement process, reducing the influence of the human element helps improve the results and reduce the measurement uncertainty.
August 3, 2020
Edge Break Analysis for 3D Optical Metrology
Handheld 3D metrology that uses edge break analysis software can bring precise edge break measurements to the shop floor.
August 3, 2020
The Unfolding Course of Events
Looking to the past provides some perspective.
June 30, 2020
The Current State of Thickness Measurement
Optical measurement tools are picking jp steam, experts say.
June 29, 2020
Stay in the know with Quality’s comprehensive coverage of
the manufacturing and metrology industries.
eNewsletter | Website | eMagazine
JOIN TODAY!Copyright ©2024. All Rights Reserved BNP Media.
Design, CMS, Hosting & Web Development :: ePublishing
