Measurement
INDUSTRY HEADLINE
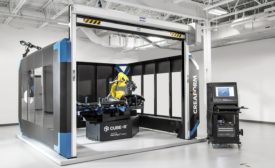
MSE Manufacturing Event Continues to Bolster Offerings and Lineup
April 16, 2018
INDUSTRY HEADLINE
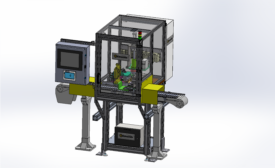
Edmunds Gages Launches Modular Automated Measuring Platform Gaging System
April 16, 2018
INDUSTRY HEADLINE
Metrology for Additive Manufacturing to Come of Age
Currently, there’s not enough data for designers and manufacturers to accurately predict the performance of some additive-manufactured parts.
April 10, 2018
INDUSTRY HEADLINE
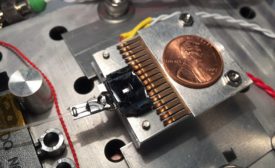
Mini Toolkit for Measurements: New NIST Chip Hints at Quantum Sensors of the Future
April 10, 2018
INDUSTRY HEADLINE
IMTS 2018 to Showcase Newest Metrology, Inspection and Automation Technologies
April 10, 2018
Calibration Considerations
Consider these factors before using the internal calibration feature on your device.
April 9, 2018
INDUSTRY HEADLINE
ASQ Inspection Division Honors Quality Assurance Specialist William C. Meyer as 2018 Inspector of the Year
April 5, 2018
Stay in the know with Quality’s comprehensive coverage of
the manufacturing and metrology industries.
eNewsletter | Website | eMagazine
JOIN TODAY!Copyright ©2024. All Rights Reserved BNP Media.
Design, CMS, Hosting & Web Development :: ePublishing
