Measurement
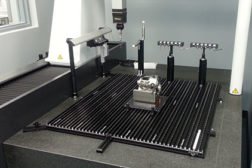
While manufacturers have applied model-based definition to product definition for some time, they have only recently applied it as a quality assurance process.
Read More
Understand Calibration Source Criteria (Pt 3)
There's more to calibration than reading digital displays.
March 2, 2015
Mitutoyo Delivers Greater Productivity and Accuracy
Automotive supplier Dynamic Manufacturing benefits from CNC CMM.
March 2, 2015
MFG Automation Integrator of Choicefor Large Scale Robotic Metrology
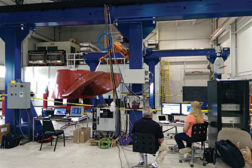
Challenge of precise, reliable inspection of 75-ton turbine solved by gantry-mounted robot.
March 2, 2015
INDUSTRY HEADLINE
AFM BioMed Conference Highlights Increasing Impact of Atom Force Microscopes in Biological Applications
February 26, 2015
Going Beyond Height With Height Gages
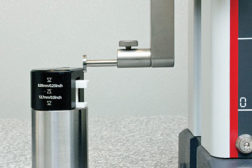
Here are some of the lesser known features built into today’s height gages that may help you not only make the measurement required but also speed it up and simplify it.
February 2, 2015
Calibration Source Criteria, Continued
CONSIDER THESE FACTORS IN YOUR CALIBRATION DECISIONS.
February 2, 2015
INDUSTRY HEADLINE
Hexagon Metrology and TriMet Announce Strategic Partnership
January 6, 2015
Opportunities and Challenges of Optical Metrology in Manufacturing
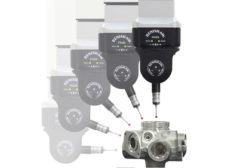
The latest technological advances open new opportunities with the right approach and the right equipment.
January 1, 2015
Stay in the know with Quality’s comprehensive coverage of
the manufacturing and metrology industries.
eNewsletter | Website | eMagazine
JOIN TODAY!Copyright ©2024. All Rights Reserved BNP Media.
Design, CMS, Hosting & Web Development :: ePublishing
