Test & Inspection
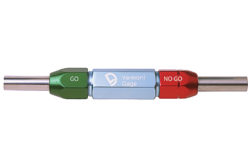
Understand Calibration Source Criteria (Pt 3)
There's more to calibration than reading digital displays.
March 2, 2015
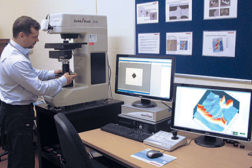
Automation Drives Vickers Hardness Testing Into the 21st Century
The Vickers test is well suited to characterization of materials with extremely hard surfaces.
February 2, 2015
Calibration Source Criteria, Continued
CONSIDER THESE FACTORS IN YOUR CALIBRATION DECISIONS.
February 2, 2015
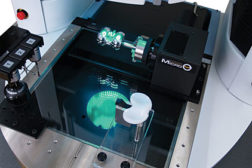
A New Era for Multisensor Measurement
Consider how manufacturing processes have been improved by using multisensor measurement.
January 1, 2015
Calibration Source Criteria
YOU CANNOT BE TOO DETAILED IF YOU WANT TO AVOID PROBLEMS LATER.
January 1, 2015
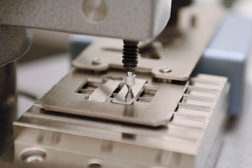
Calibration of Measuring Equipment
It’s important to calibrate equipment both before and after use.
December 5, 2014
Stay in the know with Quality’s comprehensive coverage of
the manufacturing and metrology industries.
eNewsletter | Website | eMagazine
JOIN TODAY!Copyright ©2024. All Rights Reserved BNP Media.
Design, CMS, Hosting & Web Development :: ePublishing
