Test & Inspection
Growing acceptance changes manufacturing processes.
Read More
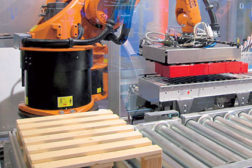
Turnkey Machine Vision Systems
Today’s tools can make even the most difficult vision inspections plausible
December 10, 2013
Change Detection for Machine Vision Applications
Finding the differences between images can lead to improved product quality
December 10, 2013
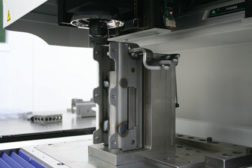
Case Study: Mitutoyo Helps Ramcel Clear Hurdle of Complex Fixturing
Vision system facilitates measurement when heavy fixturing constrains access to a workpiece
December 6, 2013
Quality 101: XRF 101
Avoid costly process failures by utilizing XRF analysis
December 6, 2013
Test & Inspection
Digital Radiography for Aviation and Aerospace
The conversion from X-ray film technology to digital inspection systems eliminates cost-intensive film procurement and storage.
November 22, 2013
NDT - Equipment
Computed Radiography Offers a Range of Benefits
As more inspectors have turned to CR, the inspection equipment has been steadily improving, offering manufacturers faster and more precise and cost-effective NDT results than ever before.
November 20, 2013
Stay in the know with Quality’s comprehensive coverage of
the manufacturing and metrology industries.
eNewsletter | Website | eMagazine
JOIN TODAY!Copyright ©2024. All Rights Reserved BNP Media.
Design, CMS, Hosting & Web Development :: ePublishing
