Adjustable Thread Ring Gages: Functional External Thread Inspection
Functional external thread inspection

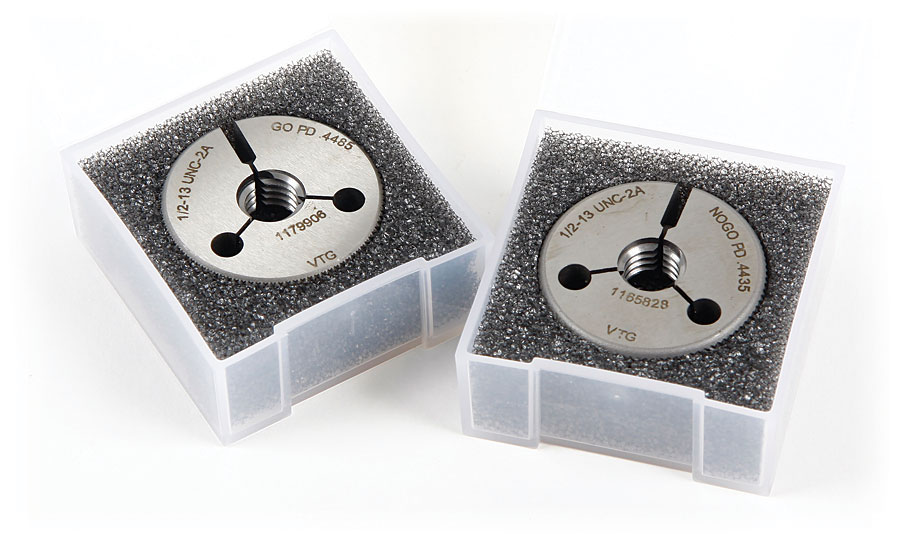
Adjustable thread ring gages in protective cases for storage and shipping. Source: Vermont Gage

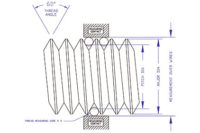
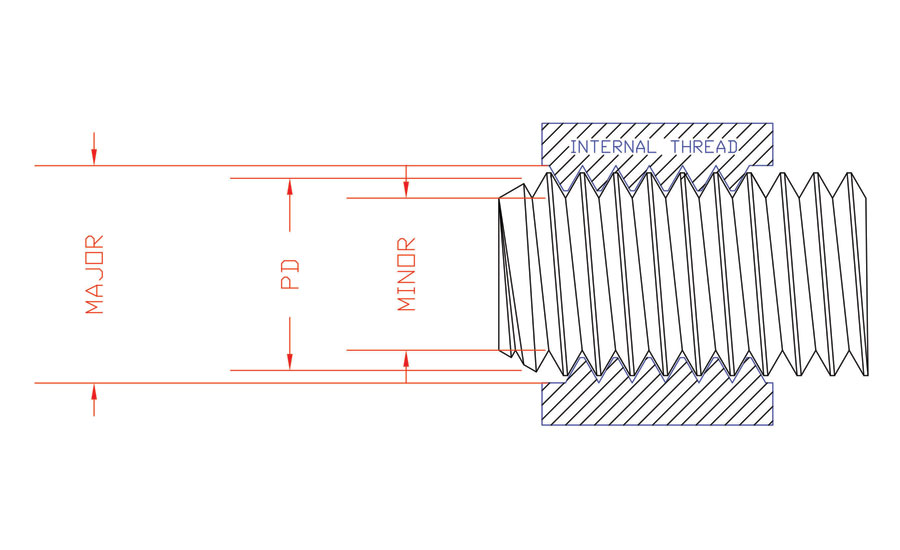
Fig. 1: Basic thread element features for internal and external product threads. Source: Vermont Gage

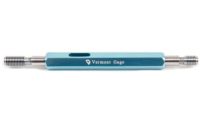
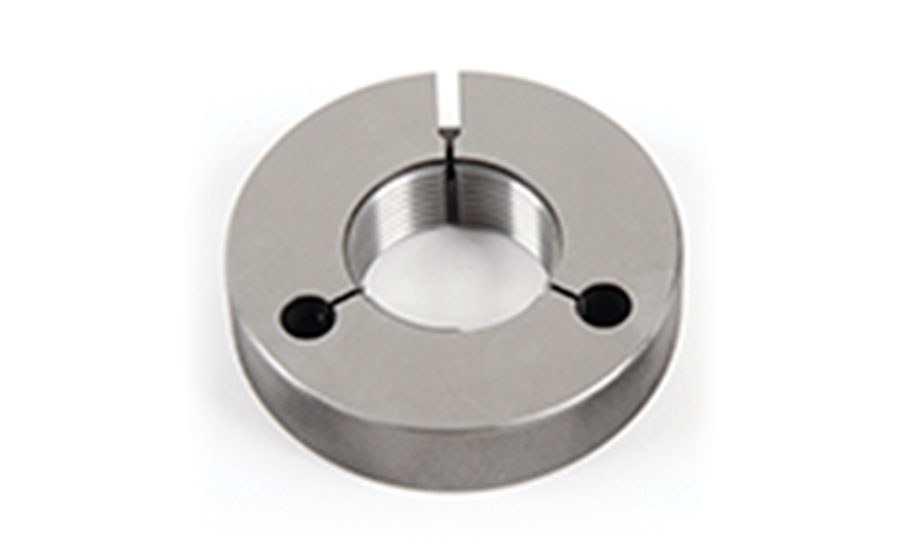
Fig. 2: Adjustable go thread ring gage per ASME B47.1. Source: Vermont Gage

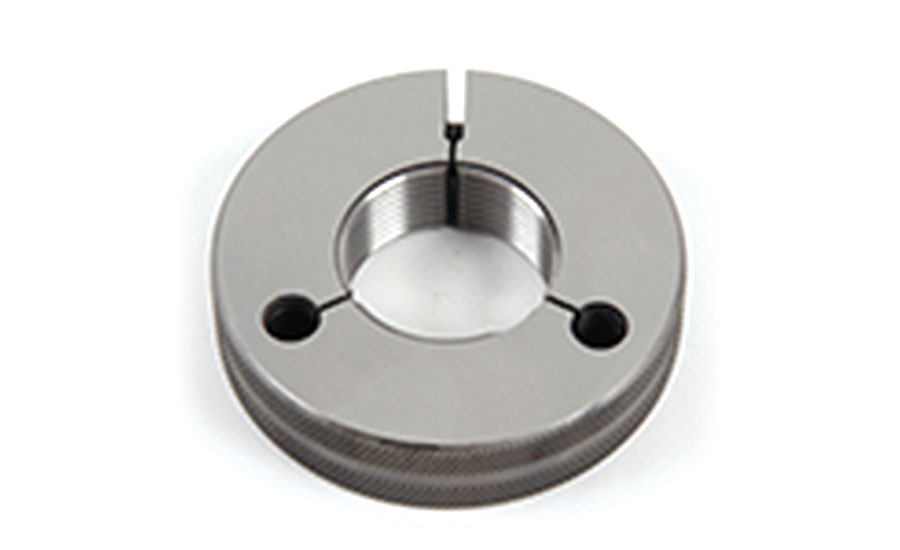
Fig. 3: Adjustable no-go thread ring gage per ASME B47.1. Note: The no-go has a groove on the outside diameter to identify it as a no-go gage. Source: Vermont Gage


External thread inspection can seem confusing and, in some cases, frustrating. There is a wide variety of inspection tools available for external threads. They may be inspected with functional thread ring gages as pass/fail inspection. They may also require some type of actual measured value that would require pitch micrometers, thread measuring wires, tri-rolls, laser, or image based measuring systems. All of these measuring tools have various strengths and weaknesses. As with all measuring tools, knowing what you need to measure and the measuring device capabilities is critical to successful and accurate inspection of the product produced.
In the United States, adjustable thread ring gages are manufactured per ASME standards. For our purposes, we will be focusing on ASME B1.2, “Gages and Gaging for Unified Inch Screw Threads” and ASME B1.16M, “Gages and Gaging for Metric M Series Screw Threads.” The blanks for these gages are manufactured per the ASME B47.1, “Gage Blanks.” Please note that solid thread ring gages are also covered in the above standards. However, they are an article unto themselves and will not be covered here.
Adjustable thread ring gages are a “functional” inspection tool for externally threaded products such as screws, bolts and threaded shafts. The term functional in this context simply means that if the internal and external parts pass the go and no-go gages, the mating parts will assemble. Thread ring gages are used for the inspection of products produced per ASME B1.1, “Unified Inch Screw Threads” and ASME B1.13M, “Metric Screw Threads: M Profile.” The term “functional” is critical. Adjustable thread ring gages are intended to emulate the mating part at its minimum and maximum material condition. Simply stated, if the go fits and the no-go does not, the external product thread is functionally in tolerance and will assemble with an in tolerance internal mating part. (Fig. 1)
Both the go and no-go thread ring gages have specific features of the external product thread that they inspect or represent. Understanding the gage function and purpose will help the user understand what the gage is telling them when it fits and when it does not.
The go thread ring gage inspects the maximum material go functional limit of the external product thread. Per ASME B1.2, “the go thread ring gage is a cumulative check of all thread elements except major diameter.” You will find a similar statement in the ASME B1.16M for the M Series Metric thread ring gages. “The product thread must freely enter the go thread ring gage for the entire length of the threaded portion,” per ASME B1.2. The go thread ring gage represents the minimum minor diameter of the internal mating part. This insures that if the go thread ring gage fits on the part, that the minor diameter of the external (bolt) thread is smaller than the minor diameter of the internal (nut) thread. It also represents the maximum pitch diameter of the external thread with a minus tolerance. It is important to note that the product maximum pitch diameter matches the go ring gage pitch diameter. The minimum product pitch diameter matches the no-go thread ring pitch diameter. The go thread ring gage pitch diameter is always larger than the no-go thread ring gage pitch diameter.
The no-go thread ring inspects the minimum functional diameter. It represents the minimum pitch diameter of the external thread. The major and minor diameters are cleared. The minor diameter of the no-go thread ring gage is larger than the minor of the go thread ring gage. If the no-go thread ring gage goes onto the part, the functional pitch diameter of the part is undersize. There are rules that control the amount that the part may enter the no-go thread ring gage. These rules are different for the Unified Inch and the M Series Metric screw threads. The Unified allows for up to three complete turns with exceptions. These exceptions include but are not limited to, exceptionally thin or ductile material, small number of threads, etc. per ASME B1.2. Per ASME B1.16M, the external part should not enter the no-go ring more than two turns with exceptions. The exceptions listed in both standards are similar. See the applicable ASME standards for the full definitions.
All of this assumes that the go fits and the no-go does not. When external threads are manufactured at the extremes of the product limits, things get challenging. It is important to note that fixed limit gages, such as go and no-go thread ring gages, are pass/fail inspection tools. Fixed limit gages do not provide an actual measured size. If specific features of the external product thread are out of tolerance or have bad form, the thread ring gages will fail them. Situations when the go will not thread onto the external thread and the no-go does are good examples of this. In this case, the thread is out of tolerance. Remember the no-go only inspects the minimum functional thread and the major and minor diameters are cleared. This means that the only feature on the go thread ring gage that is smaller than the no-go is the minor diameter. There is a high probability that the product thread has either a large radius or an incomplete thread form in the root of the thread causing minor diameter interference on the go thread ring gage. This is usually the result of a worn or damaged cutting tool.
Thus far, everything we have discussed applies to both adjustable and solid thread ring gages. Adjustable thread ring gages are calibrated and set to truncated setting plug gages. The adjustable features allow for the use of a calibrated truncated setting plug other than the one used to manufacture the thread ring gage. The adjustment of the thread ring gage is not intended to exceed the total tolerances of the thread ring gage. Any time adjustable thread ring gages are adjusted to fit a truncated setting plug, the minor diameter of the thread ring gage must be inspected as well. Any over adjustment of the thread ring gage can make the geometry, such as roundness, out of tolerance. For this reason, adjusting a standard thread ring gage to measure pitch diameters other than those marked on the gage is not advisable.
Adjustable thread ring gages are very accurate pass/fail inspection tools. They are not thread chasers or deburring tools. If you take care of your gages, they will take care of you and the products you produce.
Looking for a reprint of this article?
From high-res PDFs to custom plaques, order your copy today!


