Home » Geometric Dimensioning and Tolerancing (GD&T)
Articles Tagged with ''Geometric Dimensioning and Tolerancing (GD&T)''
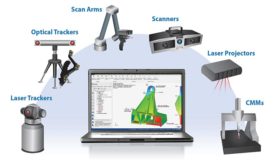
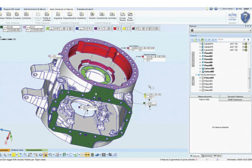
Quality inspection used to be a disparate process isolated in a lab. Today it is much more integrated with the production floor through in-process inspection and open CAD-based measurement software.
Read More
Closing the Digital Loop – Engineering to Manufacturing
Today’s CAD models and quality standards bring modern manufacturing much closer to better communication.
July 1, 2017
Empowering GD&T
Based on the ASME Y14.5 2009 Standard. Without GD&T, manufacturing is a guessing game.
June 1, 2017
Tolerancing Standards: A Comparison
As we consider the possibility that products can be manufactured anywhere in the world, we must also think about the specifics of the standard we use to describe the product requirements.
August 1, 2016
Who’s the Keeper of GD&T Data?
GD&T is widely considered to be an essential tool for communicating design intent and ensuring parts meet the desired form, fit, function and assembly.
August 1, 2016
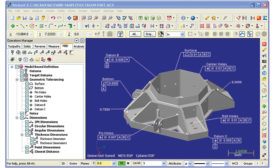
3-D Model-Based GD&T for Inspection
A key element of model-based definition.
November 4, 2015
Stay in the know with Quality’s comprehensive coverage of
the manufacturing and metrology industries.
eNewsletter | Website | eMagazine
JOIN TODAY!Copyright ©2024. All Rights Reserved BNP Media.
Design, CMS, Hosting & Web Development :: ePublishing
