Home » repeatable processes
Articles Tagged with ''repeatable processes''
Understanding Accuracy for Computed Tomography
If you take time to understand these definitions, standards and testing methods, you’ll be able to determine the accuracy of CT in your specific application.
October 5, 2020
The Veteran of Noncontact Metrology
Is air gaging still relevant in the 21st century?
September 2, 2020
New Lessons in Gage Management: Don’t Overlook GR&R Testing
Strong gage management and tracking impacts a manufacturer's ability to grow, experts say.
August 31, 2020
An R&R Study
In most situations, you're likely to be surprised by the amount of R&R error detected.
June 30, 2020
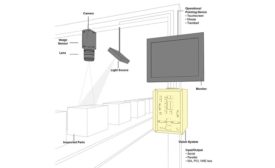
A Quality Assurance Toolset for Modern Manufacturers
Before you can fully utilize machine vision, you need to understand the basics.
January 8, 2020
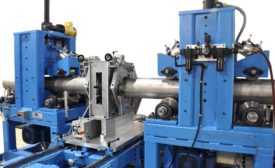
Choosing and Applying NDT Methods for Round Stock during Production
There are many approaches to NDT inspection, ranging from full system tests to in-process inspection of partially finished products.
November 8, 2019
Stay in the know with Quality’s comprehensive coverage of
the manufacturing and metrology industries.
eNewsletter | Website | eMagazine
JOIN TODAY!Copyright ©2025. All Rights Reserved BNP Media.
Design, CMS, Hosting & Web Development :: ePublishing
