Home » gaging
Articles Tagged with ''gaging''
Measurement
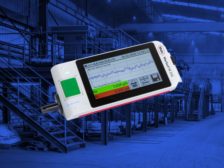
Implementing these new technologies will make today's gages easier to use, offer more capabilities in an easier-to-read fashion and survive point of manufacture gaging.
Read More
Measurement
Innovation is Changing the World of Handheld Gaging
Within the Manufacturing Innovation Process, Metrology has Played a Predominant Role.
July 1, 2021
Special Gage Solutions Optimize Measurement for Many Unique Applications
Discover gaging solutions for manufacturers in the automotive, aerospace, power generation, food and medical industries.
April 7, 2021
Crystal Ball Gazing: Gage Trends and Metrology
When you look at how far gages have come in just the last 20 years, you might wonder what, if any, types of technological enhancements might be on the horizon.
December 2, 2019
Reports, Certs and Other Documents
The simplest way to get what you want is to spell it out.
February 8, 2019
Gage Pass/Fail Problems
Two tolerances should be shown for any gage you use.
September 8, 2018
Solving Dimensional Problems
Measuring devices are usually worth a first look.
August 1, 2018
Stay in the know with Quality’s comprehensive coverage of
the manufacturing and metrology industries.
eNewsletter | Website | eMagazine
JOIN TODAY!Copyright ©2025. All Rights Reserved BNP Media.
Design, CMS, Hosting & Web Development :: ePublishing


