Home » ISO 17025
Articles Tagged with ''ISO 17025''
NDT | Test & Inspection
Whether performed onsite or outsourced to an ISO 17025 accredited lab, the tests described here are great ways to screen corrosion inhibiting materials during the selection process.
Read More
Measurement
How to Read & Interpret ISO/IEC 17025 Calibration Certificates
As an accreditation assessor, I can say that many common assessment deficiencies could have been prevented if the calibration certificate had been thoroughly reviewed.
September 3, 2024
Column | John Vandenbemden
The Standard Explained: What is ISO 17025: 2017?
March 11, 2024
Test & Inspection
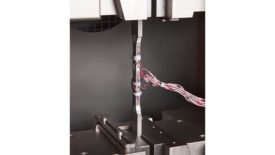
Important Considerations for Tensile Testing Equipment in Aerospace Applications
The most powerful tool a company has is the ability to follow a component failure back to the batch of material it was made from.
August 3, 2023
Measurement
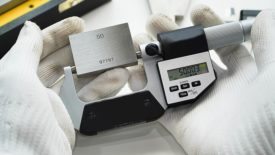
Calibration: Does My Gage Pass Or Fail? A How To Guide
Simply stating that your gage passed or failed a calibration does not tell the whole story.
April 1, 2022
Column | Hill Cox
Other Dimensions: DIY Gage Calibration: A Primer for Management
One of the hardest parts of doing your own gage calibration is having the right personnel to do the work.
November 15, 2021
Calibration Report Primer
If you have concerns, get it calibrated again.
September 29, 2020
Materials Testing Systems in Regulated Environments: What You Need to Know
In the current environment, non-compliance is not an option.
March 8, 2020
Understanding Calibration Reports
Read them—don’t simply check for red flags.
June 8, 2018
Stay in the know with Quality’s comprehensive coverage of
the manufacturing and metrology industries.
eNewsletter | Website | eMagazine
JOIN TODAY!Copyright ©2024. All Rights Reserved BNP Media.
Design, CMS, Hosting & Web Development :: ePublishing


