Home » 3D Inspection
Articles Tagged with ''3D Inspection''
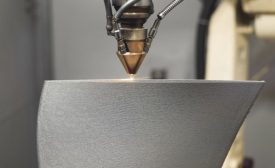
CT provides unparalleled insight into a 3D structure, including its density at every point throughout its volume.
Read More
Time-of-Flight Forges Ahead
Time-of-flight technology presents a new set of opportunities for those developing 3D imaging systems.
March 3, 2020
Get Started with 3D Scanning
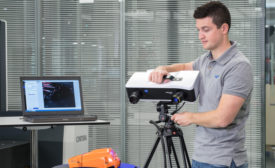
How to select a 3D scanning technology for your application.
September 1, 2019
Sponsored Content
Trends in 3D Inspection: Edge Computing, Acceleration, and 3D Smart Sensors for IIoT
October 30, 2018
Photometric Stereo Technique
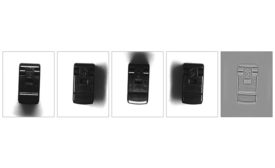
Photometric stereo technique offers a quick, efficient way to use 3D data for better machine vision.
September 4, 2018
Fully Characterizing Brake Pad Materials to Improve Performance and Lower Development Costs
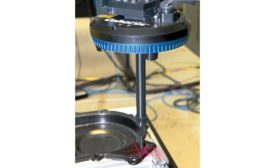
Combining benchtop mechanical testing of smaller brake material samples with rapid 3D surface metrology makes it possible to analyze results more quickly than ever before.
September 1, 2018
Inspection Technology Review for Automotive Bead Dispensing Process
The industry is trending toward 3D for inline bead inspection.
August 8, 2018
Modern UI Design for the Industrial Internet of Things
The move to smart, embedded devices running web technology is capable of fully realizing the potential of the IIoT.
December 1, 2017
Capturing the Third Dimension for Machine Vision
New technologies now in development may help make 3D more accessible for a larger number of manufacturers.
March 1, 2017
Stay in the know with Quality’s comprehensive coverage of
the manufacturing and metrology industries.
eNewsletter | Website | eMagazine
JOIN TODAY!Copyright ©2024. All Rights Reserved BNP Media.
Design, CMS, Hosting & Web Development :: ePublishing
