Home » surface inspection
Articles Tagged with ''surface inspection''
Test & Inspection
As 3D printing continues to take off and parts are used in more unique ways to solve complex problems, it’s likely that quality requirements will only become stricter.
Read More
Speaking of Quality | Sheri Dorman
Visual Inspection Remains Most Popular Flaw Detection Method
Visual inspection is the most popular method of determining what defect, or flaw, is acceptable or not.
August 31, 2023
Aerospace | NDT in Aerospace
NDT in Aerospace: Advancements in NDT Methods
As the Industry will Continue to Grow, so will Advancements in NDT Methods.
July 15, 2021
Sponsored Content
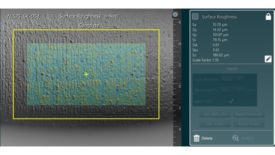
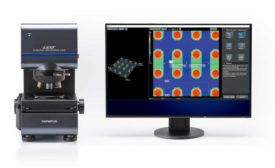
White Paper: Interested in Surface Roughness Measurement? Download the Olympus Roughness Measurement Guidebook
January 28, 2021
Fully Characterizing Brake Pad Materials to Improve Performance and Lower Development Costs
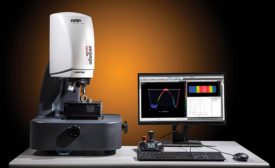
Combining benchtop mechanical testing of smaller brake material samples with rapid 3D surface metrology makes it possible to analyze results more quickly than ever before.
September 1, 2018
Still the One: The Enduring Attraction of Magnetic Particle Inspection
MPI can be applied to many industries and uses, ranging from roller coasters and nuclear power plants to aviation and aerospace.
July 8, 2018
INDUSTRY HEADLINE
Hexagon Acquires Industrial Measurement and Inspection Provider NEXTSENSE GmbH
May 15, 2018
Custom Surface Finish Gages for Hard to Reach Places
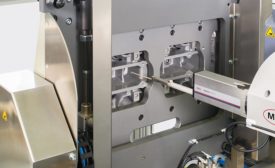
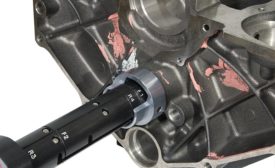
When standard devices can’t provide expected results, a better solution is to custom design a gage to suit the specific application.
February 1, 2018
Stay in the know with Quality’s comprehensive coverage of
the manufacturing and metrology industries.
eNewsletter | Website | eMagazine
JOIN TODAY!Copyright ©2024. All Rights Reserved BNP Media.
Design, CMS, Hosting & Web Development :: ePublishing
