Home » 2D technology
Articles Tagged with ''2D technology''
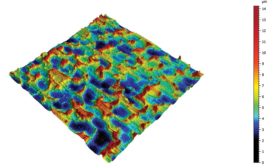
With the advent of new processes and materials, surfaces have an increasingly technical function.
Read More
Radiography Trends Lead to High Speed CT
Today’s digital radiography is far beyond what early radiographers could have imagined.
April 2, 2018
Stay in the know with Quality’s comprehensive coverage of
the manufacturing and metrology industries.
eNewsletter | Website | eMagazine
JOIN TODAY!Copyright ©2024. All Rights Reserved BNP Media.
Design, CMS, Hosting & Web Development :: ePublishing


