Measurement
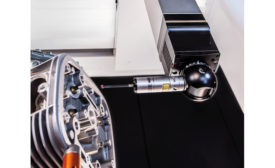
As the skills gap continues to impact the manufacturing field, skilled CMM users and programmers are harder to come by. In response, CMM companies have built the tools to be easier to operate and program.
Read More
Software & Analysis
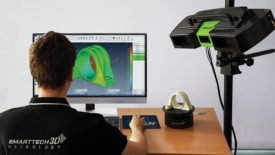
Automating Scan-Based Inspection for Repeatable Process Control
Metrology software is at the core of process control because it manages all the measurements and drives productivity.
July 1, 2022
Measurement
Submicron Displacement and Thickness Measurements with Confocal Sensors
Confocal chromatic measuring systems provide highly accurate distance, position, displacement and thickness measurements.
July 1, 2022
From the Editor | Darryl Seland
Consolidation: One-Stop-Shops and All-in-One Computers
June 15, 2022
Measurement
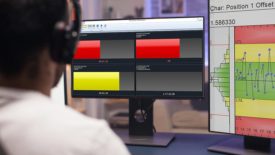
Digital Gaging: Embracing The Accessibility Afforded By Today’s Technology
Data reliability is more important than ever.
May 30, 2022
Test & Inspection
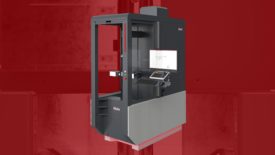
Is it Possible to Measure Shaft, Form and Gear with an All-In-One Machine?
Do more with less — minimizing downtime for production workpiece measurements.
May 30, 2022
Face of Quality | Jim L. Smith
Quality Professionals Must Lead
Communicate the economic case for quality.
May 15, 2022
What Is a Digital Twin?
Digital twin technology helps organizations to use real-time data, mockups, algorithms, and AI to create a virtual depiction of a physical object, process, or service.
May 9, 2022
In-line Inspection with CMMs
By increasing the frequency of inspections and decreasing the time of inspection throughout the production process, inspecting in or near the production line allows for verification of 100% of components.
May 3, 2022
Test & Inspection
Measurement And Inspection Standards
As technology continues to evolve, it will take a lot of work from the standards community to help the industry keep pace with news tools for new manufacturing methods.
May 1, 2022
Stay in the know with Quality’s comprehensive coverage of
the manufacturing and metrology industries.
eNewsletter | Website | eMagazine
JOIN TODAY!Copyright ©2024. All Rights Reserved BNP Media.
Design, CMS, Hosting & Web Development :: ePublishing

