Measurement
Quality 101
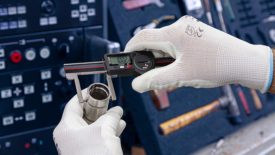
Even a digital caliper — which takes most of the guesswork out of reading the measured value — still requires skill to correctly apply it to the measured dimension.
Read More
Measurement
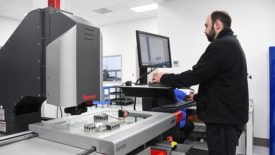
Advances in Automation and Robotics Make CMMs More Efficient, Accurate
September 17, 2023
Management
The journey of revising ISO 10012 20??
There is no mandate to certify to the standard to use it.
September 13, 2023
Case Study
Vision for the Win … Noncontact Measurement Tops Traditional CMM
A NASCAR engine typically has 857 components, so some are bound to have geometries that are problematic to measure and inspect.
August 30, 2023
Measurement
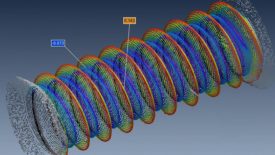
The Multifaceted World of Surface Measurement
Whether measuring surfaces for household products or surgical implants, surface finish measurement is necessary to optimize key product attributes, ensure safety, and comply with regulatory standards.
August 22, 2023
Quality 101
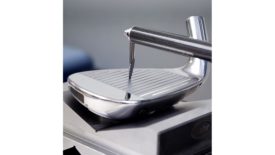
Styli and Probe Extensions: Small Accessories Have A Big Impact On CMM Accuracy
Don't sacrifice quality by using the wrong styli and probe extensions.
August 22, 2023
Quality 101
The Importance of Calibration
Calibration is essential from both a technical and business perspective.
August 16, 2023
More than Laser Gages - Available Today
The added twist in recent years has been the use of a chromatic or "color" focus effect where different colors of light focus at different distances.
August 2, 2023
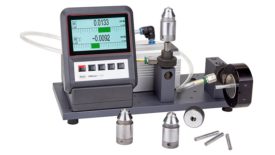
Air Gaging Moving Forward Faster Than You Think
Let's look at how air tooling and its accessories are moving into today's modern manufacturing processes.
July 27, 2023
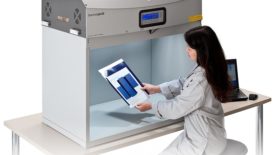
Revolutionizing Color Quality Control through Technology and Sustainability
Advancements in digital color measurement technologies and cloud-based software have transformed color quality control, enabling greater accuracy, efficiency, and sustainability, while automation and circular economy principles are driving further innovation in the industry.
July 12, 2023
Stay in the know with Quality’s comprehensive coverage of
the manufacturing and metrology industries.
eNewsletter | Website | eMagazine
JOIN TODAY!Copyright ©2024. All Rights Reserved BNP Media.
Design, CMS, Hosting & Web Development :: ePublishing
