Measurement
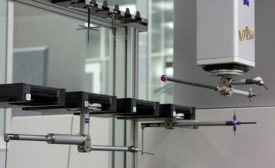
Expand Your CMM’s Capabilities
Moving from tactile and scanning systems to newer optical and laser sensor technology increases the productivity of your CMM.
August 5, 2015
INDUSTRY HEADLINE
Coordinate Metrology Systems Conference Featured Career Enhancement Opportunities for Metrologists
August 3, 2015
INDUSTRY HEADLINE
Hexagon Metrology Opens New Solution Centers in Milwaukee and Wilmington, DE
July 30, 2015
INDUSTRY HEADLINE
Demand from Aerospace and Defense Industry Boosts Prospects for Test & Measurement Vendors
July 24, 2015
INDUSTRY HEADLINE
Shimadzu Corporation Names New President of Shimadzu Scientific Instruments
July 21, 2015
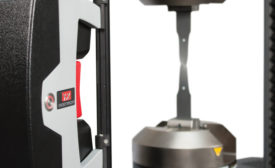
Why Measure Strain Optically?
Consider optical extensometers for your materials testing system.
July 16, 2015
Stay in the know with Quality’s comprehensive coverage of
the manufacturing and metrology industries.
eNewsletter | Website | eMagazine
JOIN TODAY!Copyright ©2024. All Rights Reserved BNP Media.
Design, CMS, Hosting & Web Development :: ePublishing


