Test & Inspection
Test & Inspection
Why zero drift occurs and ways to mitigate or even eliminate it.
Read More
Test & Inspection
The Importance of Digital Surface Inspection in Additive Manufacturing
As 3D printing continues to take off and parts are used in more unique ways to solve complex problems, it’s likely that quality requirements will only become stricter.
March 1, 2024
Test & Inspection
The Accuracy Nexus: 3D Scanning in Additive Manufacturing for Custom Car Builds and Mesh Repair Solutions
Anyone can buy a 3D printer and set up a shop, but there are a few essential things to know — especially when it comes to mesh repair.
February 23, 2024
Test & Inspection
Navigating the Nuances of Additive Manufacturing Quality Control
The evolution from traditional methods to additive manufacturing represents a paradigm shift.
February 16, 2024
Test & Inspection
Crushing it: a granular breakdown of testing what shouldn’t break down
While tensile testing garners significant attention, compression testing is equally crucial.
January 26, 2024
Test & Inspection
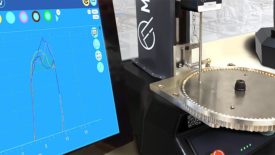
When Part Gaging is a Bottleneck
Automatic manual gauging improves process control, yield, and capacity.
January 26, 2024
Test & Inspection
Accelerated Weathering Testing: Guidelines for equipment and testing
January 18, 2024
Test & Inspection
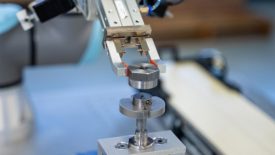
Automated Testing Systems – Pushing the Envelope
How did we get here, where are we going, and is automation always optimal?
January 18, 2024
Automation
How Modern Warehouses are Redefining Efficiency Through Automation — Part 2
Insights into how AI, IoT, and blockchain are revolutionizing warehouses, enhancing transparency, and optimizing operational efficiencies.
January 17, 2024
Stay in the know with Quality’s comprehensive coverage of
the manufacturing and metrology industries.
eNewsletter | Website | eMagazine
JOIN TODAY!Copyright ©2024. All Rights Reserved BNP Media.
Design, CMS, Hosting & Web Development :: ePublishing



.jpg?height=168&t=1705603301&width=275)
