Test & Inspection
Electric Vehicles
Quality control lags behind rapid growth of EV sales in North America.
Read More
Measurement
Best Suited Options for Your Metrology Toolbox
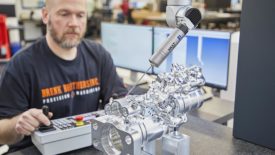
When are non-contact structured light 3D scanners better suited than touch CMMs?
September 8, 2022
Test & Inspection
Tackling The Quality Conundrum In Additive Manufacturing
Today innovative metrology technologies are being developed that can provide meaningful measurement data efficiently and cost-effectively.
September 1, 2022
Test & Inspection
Making The Case For Automated Testing To Ensure PLM Success
August 8, 2022
Test & Inspection
Reduce Testing Downtime through Quality Measures
Testing system downtime causes shipment delays, upset customers, and lost revenue.
August 1, 2022
Speaking of Quality | Jim Spichiger
ASQ are a Local Global Community
ASQ members dont just join an organziation, they join a thriving group of professionals who are passionate about quality.
July 15, 2022
Best Practices When Implementing SPC Charts
Control charts should be implemented carefully. Here are best practices to keep in mind.
July 13, 2022
Test & Inspection: Measuring Magnetic Properties
Measuring magnetic properties can determine the effect of heat treatment on a material
July 8, 2022
Test & Inspection: Hardness Testing of Coatings
There are a wide variety of testing techniques for hardness, using different principles and reporting different scales.
July 8, 2022
NDT | Fatigue Testing
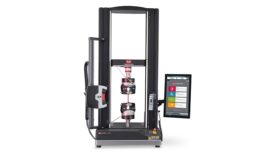
The Future of Fatigue Testing
Newer techniques are on the rise. As manufacturing evolves, so too does fatigue testing.
June 8, 2022
Stay in the know with Quality’s comprehensive coverage of
the manufacturing and metrology industries.
eNewsletter | Website | eMagazine
JOIN TODAY!Copyright ©2025. All Rights Reserved BNP Media.
Design, CMS, Hosting & Web Development :: ePublishing
