Test & Inspection
Case Study
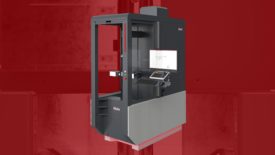
With an x-ray inspection machine, the company is able to guarantee the quality of the castings faster and more comprehensively.
Read More
Test & Inspection
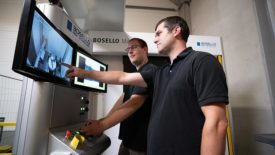
Is it Possible to Measure Shaft, Form and Gear with an All-In-One Machine?
Do more with less — minimizing downtime for production workpiece measurements.
May 30, 2022
Test & Inspection
Measurement And Inspection Standards
As technology continues to evolve, it will take a lot of work from the standards community to help the industry keep pace with news tools for new manufacturing methods.
May 1, 2022
Test & Inspection
The Journey to Creating an Inspection Standard
The scope of inspection is so vast that no one wanted to exclude a topic, but we also did not want a standard so detailed that it was not user friendly.
May 1, 2022
Test & Inspection
Eddy Current Inspection of In-Service Aircraft Structure
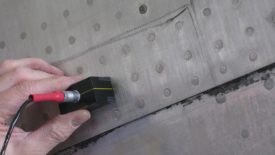
Eddy current inspections are particularly sensitive to crack, corrosion, and other conductivity changes within electrically conductive alloys.
April 1, 2022
Test & Inspection
Shining A Light On Color Quality Control
Monitoring color during the entire production process can help manufacturers identify color drifts before they become a problem.
March 8, 2022
Test & Inspection
Aerospace Companies Flying High With 3D Laser Trackers
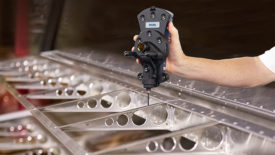
Portable metrology tools like 3D laser trackers are efficient solutions that can be implemented into aerospace workflows.
March 8, 2022
Case Study
How A Custom Crusher Used Precise Motion Data To Open New Manufacturing Possibilities
The problem wasn't whether the client could make the parts; it was whether the client could test samples in a rapid, cost-efficient, productive way.
February 15, 2022
Test & Inspection
The Shrinking Pixel
What motivates smaller pixels? It's mainly cost, which is directly tied to image sensor size.
February 15, 2022
Test & Inspection
How Collaborative Is Your Manufacturing Application?
The design and operation of the manufacturing application will determine how and how often the human and robot will collaborate.
February 15, 2022
Stay in the know with Quality’s comprehensive coverage of
the manufacturing and metrology industries.
eNewsletter | Website | eMagazine
JOIN TODAY!Copyright ©2025. All Rights Reserved BNP Media.
Design, CMS, Hosting & Web Development :: ePublishing
