Aerospace
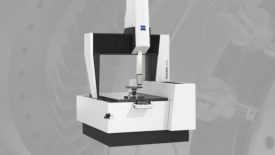
High- Speed Measurement
Quality assurance performed at the site of production can identify and possibly even avoid manufacturing errors.
Read More
Management | Leadership Survey
2023 Quality Leadership Ranking: #2 DIT-MCO International
February 1, 2023
Software & Analysis
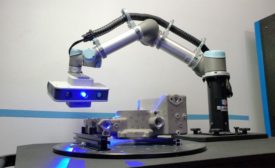
Reverse Engineering Software: Who? What? When? Where? Why?
Reverse engineering is used practically everywhere and in every industry.
September 1, 2022
Aerospace | Back 2 Basics
Aerospace Quality Management System (AQMS) Certification
If you really want a QMS to work, you need to work at it.
July 8, 2022
Aerospace | Leak Testing
The How’s and Why’s of Leak Testing
In the aerospace field, old leak testing methods are replaced to improve efficiency and minimize time on the ground.
July 8, 2022
Aerospace | Additive Manufacturing
Additive Manufacturers Don't Get Free Pass on Quality
July 8, 2022
Aerospace | NDT in Aerospace
CT-Scan Data Analysis and Visualization for Aerospace NDT
For as long as there has been commercial and military flight, aircraft component suppliers have been charged with providing dimensional and process control-related data.
July 8, 2022
Test & Inspection
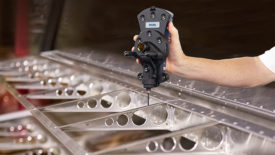
Aerospace Companies Flying High With 3D Laser Trackers
Portable metrology tools like 3D laser trackers are efficient solutions that can be implemented into aerospace workflows.
March 8, 2022
NDT | XRF
How to Measure Metal Coating Thickness Using Handheld X-ray Fluorescence Analyzers
Handheld XRF is an indispensable tool in quality assurance that provides multiple benefits.
February 8, 2022
NDT | Back 2 Basics
What Can Eddy Current Testing Do for Me?
This versatile tool can be used to solve or prevent material with property issues from leaving a munufacturing facility.
October 15, 2021
Stay in the know with Quality’s comprehensive coverage of
the manufacturing and metrology industries.
eNewsletter | Website | eMagazine
JOIN TODAY!Copyright ©2024. All Rights Reserved BNP Media.
Design, CMS, Hosting & Web Development :: ePublishing
