Articles by George Schuetz
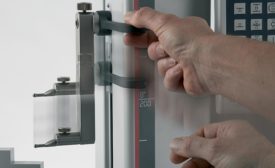
Today's height gages are feature-packed, high-performance measuring systems.
Read More
Benefits of Automating the Calibration Process
As with any measurement process, reducing the influence of the human element helps improve the results and reduce the measurement uncertainty.
August 3, 2020
Calibrating Standard Threaded Gages
Applications requiring threaded parts come with a variety of performance requirements.
May 1, 2020
Choosing the Right Smart Handheld Gage
Gages bring a whole new level of measuring capability to the user.
March 1, 2019
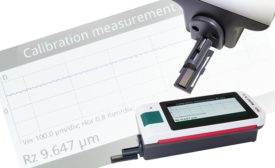
Calibrating Surface Gages for Success
The measurement of surface finish has come a long way in the past 70 years.
October 15, 2018
The 10 Commandments for Selecting and Using Air Gaging
When followed properly, these will provide a highly successful inspection system.
August 1, 2017
Standard Gage or Custom? How to Analyze Your Gaging Requirements
How to analyze your gaging requirements. Learn how to specify the gaging solution that provides the best results.
May 1, 2017
Putting Surface Inspection in the Hands of the Machine Tool Operator
Manufacturers need tools for operators that meet test requirements and are simple to use.
January 3, 2017
Calibration: What You Need to Know
Calibration, certification and accreditation are terms that are sometimes used interchangeably, but they are actually not the same.
November 1, 2016
Custom Gages Automate Your Production
Fully automating the measuring process is the ultimate custom gage solution
September 1, 2016
Stay in the know with Quality’s comprehensive coverage of
the manufacturing and metrology industries.
eNewsletter | Website | eMagazine
JOIN TODAY!Copyright ©2025. All Rights Reserved BNP Media.
Design, CMS, Hosting & Web Development :: ePublishing
