Darryl Seland
Darryl Seland is Editor-in-Chief of Quality magazine. He can be reached at selandd@bnpmedia.com.
ARTICLES
Control charts are straightforward tools that help operators understand process variability. They do this by identifying four process states.
Read More
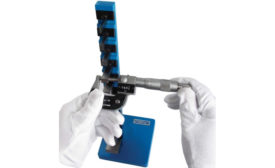
Calibration Matters More Than Ever
A manufacturer’s equipment is only as reliable as its calibration levels.
January 7, 2022
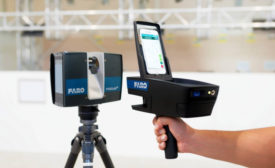
Quality Control With 3D Scanning
3D scanners are quick, accurate and record mass amounts of geometry, making them less laborious and more flexible than basic metrology tools.
January 3, 2022
Column | Darryl Seland
Oh, Behave! Navigating Behavioural and Organizational Change
December 20, 2021
How SPC Software Helps Medical and Pharmaceutical Manufacturers Stay On Track
Such software also automates data collection, inputting information into a single, centralized repository.
December 10, 2021
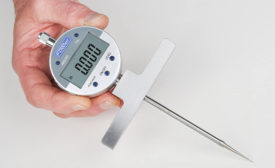
How Digital Gages Help to Advance Quality
As the industry embraces smart factories and automation, gaging software must seamlessly exchange information across all components in a production process.
December 10, 2021
The Benefits of Automation
The five reasons to consider, and have been considered for decades, about automation.
December 10, 2021
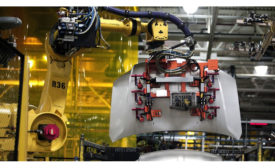
How Automation Helps to Improve Quality
Automating quality control can look different for every organization.
December 10, 2021
Stay in the know with Quality’s comprehensive coverage of
the manufacturing and metrology industries.
eNewsletter | Website | eMagazine
JOIN TODAY!Copyright ©2025. All Rights Reserved BNP Media.
Design, CMS, Hosting & Web Development :: ePublishing

