Articles by Steve Kersen
Measurement
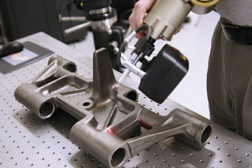
With its precision, 3D scanning distinguishes itself from conventional measurement tools.
Read More
First Article Inspection with 3D Scanning
A growing number of companies are including this technology in their first article inspection procedures.
April 1, 2017
Reverse Engineering Continues to Expand its Role in Industry
Reverse engineering parts and systems enable aircraft to keep flying or machines to keep running.
October 1, 2016
3-D Measurement: An Essential Time-Saving Tool for Industry
Let’s review a few 3-D measurement basics.
September 1, 2015
Software & Analysis
Modern Reverse Engineering of 3-D Geometry
The purposes for reverse engineering are many and varied, ranging from the need to reproduce an existing product lacking CAD documentation to acquiring sensitive information to determine possible patent infringement
May 1, 2014
Stay in the know with Quality’s comprehensive coverage of
the manufacturing and metrology industries.
eNewsletter | Website | eMagazine
JOIN TODAY!Copyright ©2025. All Rights Reserved BNP Media.
Design, CMS, Hosting & Web Development :: ePublishing

