Home » Keywords: » noncontact measurement
Items Tagged with 'noncontact measurement'
ARTICLES
Measurement
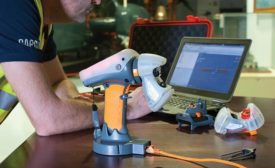
3D scanners enable the accurate mapping of three-dimensional shapes and geometries of objects, which makes them an extremely useful tool in reverse engineering.
Read More
Test & Inspection
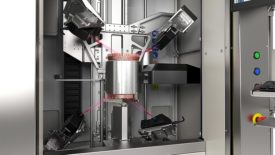
New Noncontact Technologies Meet the Challenges of the Evolving Automotive Industry
The transition from ice to electric powertrain requires a complete review of the approach to quality and process controls.
December 28, 2023
Measurement
What is Uncertainty? In Metrology, It’s Truly a Deep, Sensitive Subject
May 1, 2022
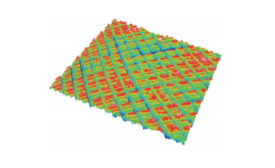
How to Successfully Establish a Correlation between Contact and Optical Surface Measurements
Contact stylus and noncontact optical can show excellent correlation.
December 3, 2020
Sponsored Content
White Paper: Introduction to Surface Roughness Measurement
October 30, 2020
The Veteran of Noncontact Metrology
Is air gaging still relevant in the 21st century?
September 2, 2020
Exploring the benefits of noncontact thickness metrology
Noncontact thickness metrology solutions have become a necessity for the manufacturing sector.
October 15, 2019
Depth Gaging from Top to Bottom
A wide variety of depth gages are available for any application.
July 8, 2018
Software & Analysis
Contact vs. Noncontact Measurement for Computer-Aided Inspection
Make the right choices to meet operational needs.
June 4, 2013
Stay in the know with Quality’s comprehensive coverage of
the manufacturing and metrology industries.
eNewsletter | Website | eMagazine
JOIN TODAY!Copyright ©2025. All Rights Reserved BNP Media.
Design, CMS, Hosting & Web Development :: ePublishing

