Home » Keywords: » tolerance
Items Tagged with 'tolerance'
ARTICLES
Quality 101
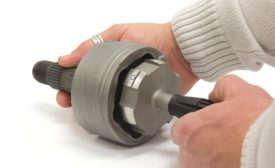
Cylindrical ring gages may be used as master gages to set variable measuring tools.
Read More
Not All that is Green is Good
There are methods to hide bad product under green numbers.
December 1, 2020
Whose Acceptance Limits?
Part 2 of 2 - Practical Acceptance 'Limits' are a judgement call.
February 8, 2020
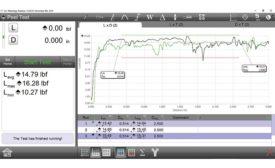
Analyzing and Reporting Tensile Data on Force Measurement Systems
Using readily available tools such as graphs, tolerances, comments, and test criteria ensures that the required tensile information is on hand when needed.
June 1, 2019
Gage Pass/Fail Problems
Two tolerances should be shown for any gage you use.
September 8, 2018
The 10 Commandments for Selecting and Using Air Gaging
When followed properly, these will provide a highly successful inspection system.
August 1, 2017
Making vs. Measuring
This was a judgment call based on experience and studies.
May 1, 2017
Stay in the know with Quality’s comprehensive coverage of
the manufacturing and metrology industries.
eNewsletter | Website | eMagazine
JOIN TODAY!Copyright ©2025. All Rights Reserved BNP Media.
Design, CMS, Hosting & Web Development :: ePublishing


