Home » Keywords: » height gage
Items Tagged with 'height gage'
ARTICLES
Measurement
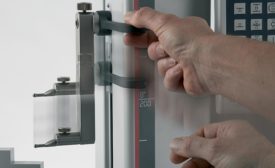
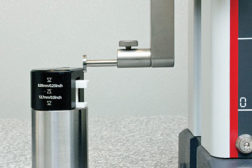
Making high-precision surface roughness, waviness, and profile measurements doesn’t always require that large system in the back corner of the manufacturing area.
Read More
Striving to New Heights
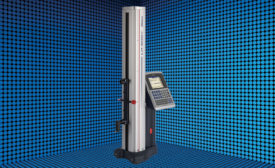
Today's height gages are feature-packed, high-performance measuring systems.
September 30, 2020
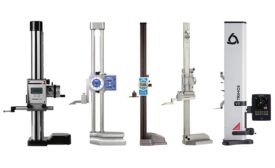
Height Gages 101
The height gage has supported the work of inspectors and machinists around the world.
May 14, 2019
New Heights in Height Gages
Today’s multipurpose height gages can perform with near-CMM capabilities.
March 8, 2018
Quality 101
Ins and Outs of Height Gages
Know your height gages for efficient and accurate measurements.
July 1, 2016
Back to the Basics: Inspection and Certification
QUALITY MEASUREMENT IS THE LIFEBLOOD OF THE QUALITY SYSTEM.
December 1, 2015
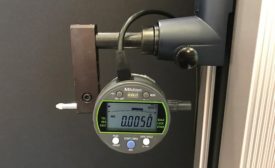
Going Beyond Height With Height Gages
Here are some of the lesser known features built into today’s height gages that may help you not only make the measurement required but also speed it up and simplify it.
February 2, 2015
Deep Thinking About Depth Gages
Like other hand tools, depth gages have undergone a gradual change from mechanical scales to digital wonders.
November 3, 2014
Stay in the know with Quality’s comprehensive coverage of
the manufacturing and metrology industries.
eNewsletter | Website | eMagazine
JOIN TODAY!Copyright ©2025. All Rights Reserved BNP Media.
Design, CMS, Hosting & Web Development :: ePublishing


