Home » Keywords: » air gaging
Items Tagged with 'air gaging'
ARTICLES
Measurement
These devices find extensive use in various manufacturing processes, from automotive to aerospace industries.
Read More
Measurement
Why Dimensional Air Gages Work So Well
The air gage is unmatched in its ability to gage parts with hard to reach features that in some cases would be impossible with any other method.
March 4, 2024
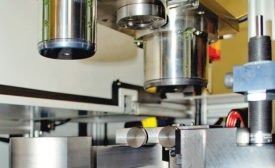
Air Gaging Moving Forward Faster Than You Think
Let's look at how air tooling and its accessories are moving into today's modern manufacturing processes.
July 27, 2023
Does Air Gaging fit into a Modern World?
Air gaging is an extremely fast measurement method even when measuring difficult geometries.
September 2, 2020
The Veteran of Noncontact Metrology
Is air gaging still relevant in the 21st century?
September 2, 2020
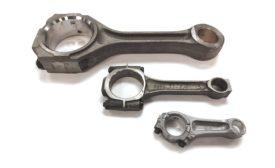
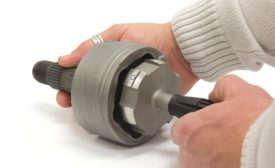
Air Gaging: A Rich History in the Automotive Industry
One workhorse in the automotive industry is the bend and twist gage.
February 1, 2019
The 10 Commandments for Selecting and Using Air Gaging
When followed properly, these will provide a highly successful inspection system.
August 1, 2017
Stay in the know with Quality’s comprehensive coverage of
the manufacturing and metrology industries.
eNewsletter | Website | eMagazine
JOIN TODAY!Copyright ©2025. All Rights Reserved BNP Media.
Design, CMS, Hosting & Web Development :: ePublishing
