Home » Keywords: » go no-go
Items Tagged with 'go no-go'
ARTICLES
2D Optical Measurement For 100% Component Inspection
Finding a system to handle 4,000 individual components a day.
January 12, 2021
Gages for Screw Thread Inserts (STI)
It is critical for both the gage manufacturer and the metrology lab to know the industry standard for the gages being manufactured or calibrated.
November 2, 2020
Quality 101
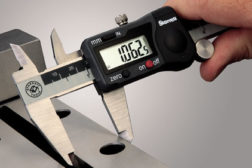
The Rundown on Handheld Gages
Handheld gages are mainstays in quality manufacturing environments, although they are still see seeing improvements—with more on the horizon.
April 1, 2014
Stay in the know with Quality’s comprehensive coverage of
the manufacturing and metrology industries.
eNewsletter | Website | eMagazine
JOIN TODAY!Copyright ©2025. All Rights Reserved BNP Media.
Design, CMS, Hosting & Web Development :: ePublishing


