Home » Keywords: » Rockwell hardness test
Items Tagged with 'Rockwell hardness test'
ARTICLES
Test & Inspection
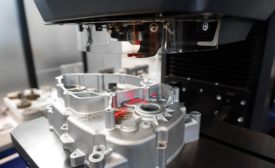
The right hardness test method depends on the material being tested and the specific requirements of the application. Understanding the differences among the available options helps determine which method will give you the best results.
Read More
Hardness Testing Changes with the Times
As 2020 marks the 100-year anniversary of the world’s first commercial hardness tester, the technology is as significant as ever.
February 1, 2020
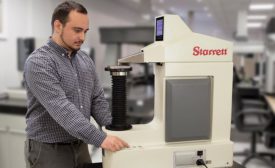
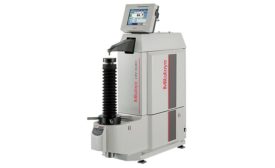
Hardness Testers: Know Your Options for Best Results
Hardness testing functionality has evolved.
November 15, 2019
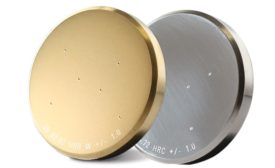
Predictive Measures: How Rockwell Hardness Testing Supports Modern Material Evaluations
Rockwell testing is the most commonly conducted hardness testing, as the testing procedure is simple and the readings can be directly attained from the testing machine.
November 8, 2018
Test & Inspection
Common Problems in Microhardness Testing
By using properly maintained and calibrated equipment, trained personnel, and appropriate testing environments, these problems can be minimized.
May 1, 2014
Case Study
Hardness Testing Assures Quality in Advanced Materials
Hardness testing is often the best way of establishing that components will survive and perform in their intended applications.
May 1, 2014
Stay in the know with Quality’s comprehensive coverage of
the manufacturing and metrology industries.
eNewsletter | Website | eMagazine
JOIN TODAY!Copyright ©2025. All Rights Reserved BNP Media.
Design, CMS, Hosting & Web Development :: ePublishing

