Home » Keywords: » go/no-go gages
Items Tagged with 'go/no-go gages'
ARTICLES
Quality 101
Cylindrical ring gages may be used as master gages to set variable measuring tools.
Read More
Specifying Trouble
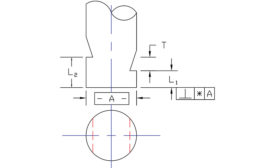
GOOD GAGES GET REPLACED DUE TO INCORRECT ACCEPTANCE CRITERIA.
December 1, 2015
Quality 101
Choose and Use the Proper Thread/Ring Gage
Ring gages are used for comparative gaging as well as for the checking, calibrating or setting of gages in a wide variety of industries.
June 3, 2014
Stay in the know with Quality’s comprehensive coverage of
the manufacturing and metrology industries.
eNewsletter | Website | eMagazine
JOIN TODAY!Copyright ©2024. All Rights Reserved BNP Media.
Design, CMS, Hosting & Web Development :: ePublishing


