Home » Keywords: » bore gages
Items Tagged with 'bore gages'
ARTICLES
Measurement
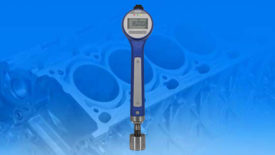
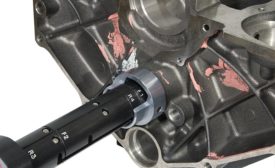
It uses the plug body, not the contacts, to center the age.
Read More
Getting the Best Out of Bore Gages
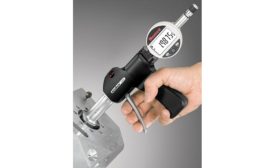
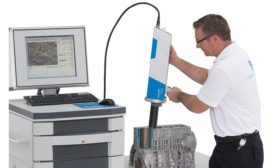
Data collection capability, careful selection and use are key.
April 30, 2018
Custom Surface Finish Gages for Hard to Reach Places
When standard devices can’t provide expected results, a better solution is to custom design a gage to suit the specific application.
February 1, 2018
Other Dimensions
Bore Measurement
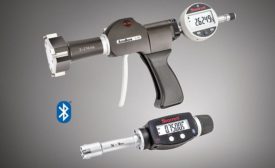
A brief overview of popular instruments used to measure bores.
May 1, 2016
INDUSTRY HEADLINE
Dorsey Metrology International Set to Increase Bore and Snap Gage Production
January 21, 2015
Stay in the know with Quality’s comprehensive coverage of
the manufacturing and metrology industries.
eNewsletter | Website | eMagazine
JOIN TODAY!Copyright ©2024. All Rights Reserved BNP Media.
Design, CMS, Hosting & Web Development :: ePublishing
