Home » Keywords: » in-process gaging
Items Tagged with 'in-process gaging'
ARTICLES
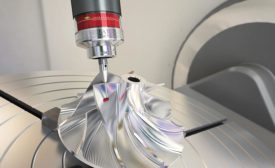
Take advantage of all the benefits of in-process gaging.
Read More
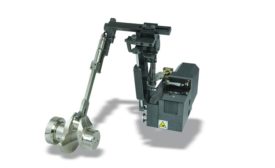
In-Process Gaging: Past, Present, and Future
In the near future, most operations will be measured in-process and compensated automatically.
August 1, 2018
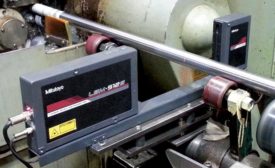
Gaging Quality As It Happens
The economies of in-process gaging are realized when high precision is required over large production runs.
November 13, 2017
INDUSTRY HEADLINE
Fifty-Two Percent of Survey Respondents Plan to Increase Spending on Gages
July 12, 2017
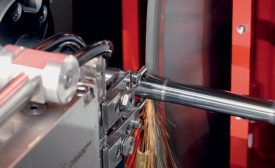
In-Process Gaging 101
The in-process gage controls size so you don’t produce scrap.
April 1, 2015
Stay in the know with Quality’s comprehensive coverage of
the manufacturing and metrology industries.
eNewsletter | Website | eMagazine
JOIN TODAY!Copyright ©2025. All Rights Reserved BNP Media.
Design, CMS, Hosting & Web Development :: ePublishing
