Home » Keywords: » gaging technology
Items Tagged with 'gaging technology'
ARTICLES
Measurement
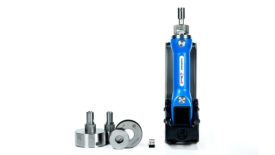
Quality control is crucial for meeting high product standards, and handheld gages are key to achieving such precision. But how exactly do these tools ensure accurate measurements?
Read More
Quality 101
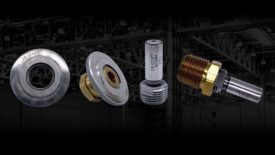
Taper Pipe Thread Inspection, NPT
If you take care of your gages, they will take care of you and the parts you manufacture.
March 2, 2023
Measurement
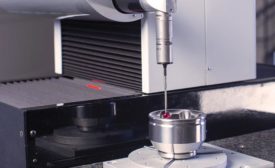
It is Never Too Late to Teach an Old Custom Gage New Tricks
There are myriad ways to breathe new life into existing gages without the need to invest in new gaging.
March 8, 2022
The 10 Commandments for Selecting and Using Air Gaging
When followed properly, these will provide a highly successful inspection system.
August 1, 2017
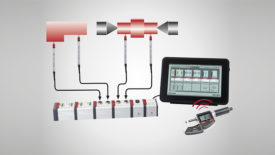
Flexibility is the Name of the Game in Shaft Gaging
Today you have a lot of choices in terms of hardware, software and gaging technology.
March 1, 2017
Stay in the know with Quality’s comprehensive coverage of
the manufacturing and metrology industries.
eNewsletter | Website | eMagazine
JOIN TODAY!Copyright ©2025. All Rights Reserved BNP Media.
Design, CMS, Hosting & Web Development :: ePublishing
