Home » optical inspection
Articles Tagged with ''optical inspection''
Connected in Quality
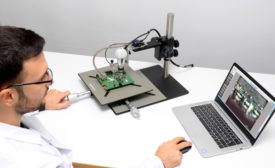
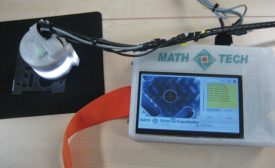
Portable optical inspection system for composite materials with USB 3.0 camera provides reproducible measurement results including documentation.
May 15, 2019
Precision Manufacturing
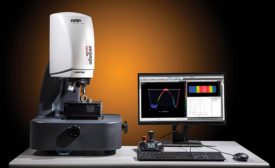
Leading edge metrology systems help ensure component quality.
June 15, 2018
Optical [Big, Bold, Fast] Metrology
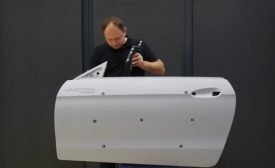
Camera-based technologies are making strides in portable measurement for large surfaces.
April 2, 2018
Boost Productivity with Video Technology
The biggest advantage of video measurement is the ability to handle the high sampling rates needed in production.
February 8, 2018
It’s the Other Stuff that’s the Problem
Sometimes you have to start looking at the less obvious culprits.
October 24, 2017
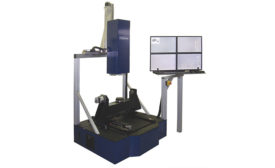
Automatic Inspection of Industrial Gas Turbine Parts
How do you inspect such large, heavy and complex parts—with the required accuracy?
November 1, 2016
Stay in the know with Quality’s comprehensive coverage of
the manufacturing and metrology industries.
eNewsletter | Website | eMagazine
JOIN TODAY!Copyright ©2025. All Rights Reserved BNP Media.
Design, CMS, Hosting & Web Development :: ePublishing
