Home » 3D measurement
Articles Tagged with ''3D measurement''
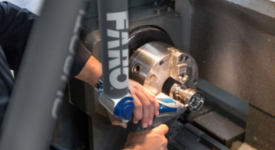
Articulating Arms 101
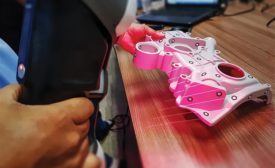
Articulating arms are portable and make inspection easier, since operators can move them to measure a part as opposed to moving the part to the CMM.
Read More
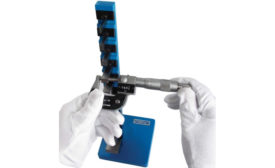
Calibration Matters More Than Ever
A manufacturer’s equipment is only as reliable as its calibration levels.
January 7, 2022
Why In-line and At-Line Metrology Solutions Are the Next Step in Automated Quality
Manufacturers who want to completely automate quality control must rethink how to conduct quality in the manufacturing environment.
October 11, 2021
Aerospace | News
NASA Awards Northrop Grumman Artemis Contract for Gateway Crew Cabin
June 25, 2020
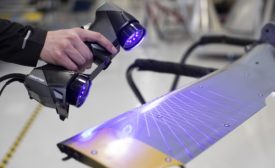
3D Measurement Explained
Lighter, faster and more accurate measurement technology is here.
December 15, 2019
Machine Vision Trends
A look at the most talked-about machine vision technologies, their practical uses and limitations, and which will have a long-lasting impact on your current and fixture applications.
September 1, 2019
How to Make the Right Choice between 2D vs. 3D in Surface Metrology
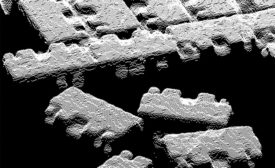
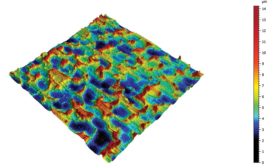
With the advent of new processes and materials, surfaces have an increasingly technical function.
August 1, 2019
Calibrating Surface Gages for Success
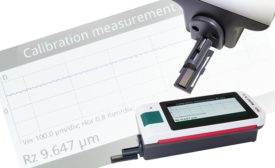
The measurement of surface finish has come a long way in the past 70 years.
October 15, 2018
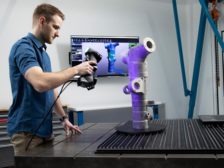
Choosing the Right 3D Scanner
A quality engineer describes how he picks the right tool for the job.
October 1, 2018
Stay in the know with Quality’s comprehensive coverage of
the manufacturing and metrology industries.
eNewsletter | Website | eMagazine
JOIN TODAY!Copyright ©2025. All Rights Reserved BNP Media.
Design, CMS, Hosting & Web Development :: ePublishing
